

Fabric Origami
(How to Make an Origami Quilt)
Materials: Fabric, iron, ironing board (something to iron on), needle and thread, pins, scissors, ruler, sense of humor and willingness to experiment.
Optional: cutting wheel, cutting mat, embroidery hoop, embroidery floss, stuffing, diagrams, and anything else you think you might want or need.
- Before you start.
- The Fabric
- Fabric selection.
- Anything that will take a crease well (wrinkles badly). Cotton works well.
- Colors & patterns that will complement your model rather than detract from it (just like choosing paper).
- Preparing the fabric.
- Wash & iron.
- Cutting the fabric
- I like using a cutting wheel, mat, and ruler.
- No frayed edges and as close to a square as possible.
- To hem or not to hem.
- This is fairly important step and will affect the finished appearance of the model.
- Fold the model first and see if there are any visible raw edges.
- If no raw edges are visible then don’t bother to hem.
- If raw edges are visible, are they on the right or wrong sides of the paper?
- Fold and iron a quarter inch hem on the side that will not be seen.
- Then fold the model.
- The Model
- Simpler models work better.
- Chose models you are familiar with.
- Flat models are better than 3-D, unless you are planning are stuffing them.
- Models that require a lot of pre-creasing are difficult.
- The Fabric

- Folding
- How to Fold
- Fold the model as you would with paper, using an iron to make the creases.
- Try to precrease all folds in a base first, then collapse the model.
- When two lines intersect, do not iron the over the intersection. Press the second line as close as possible to the intersection. It’s better to leave a gap then to iron out the first line completely.
- Iron after every fold. (Be careful! Don’t burn yourself!)
- Don’t bother precreasing before reverse folds. Fabric is more pliable so you can adjust them easily.
- Because fabric is more pliable, fold with pins, safety pins, or basting stitches to hold your folds together.
- Paper vs. Fabric (Things to keep in mind while folding.)
- Fabric is more forgiving than paper.
- Paper takes creases better.
- Fabric will not take sharp creases.
- Any inaccuracies can be hidden when finishing the model.
- Fabric is softer than paper
- Models will not stand up, unless additional support is included.
- Models with a lot of legs will not be successful.
- Thick models won’t hold together unless they are “helped.”
- How to Fold
- Finishing Touches
- Stitching (decorative, holding together)
- Hidden
- Used to hold the model together.
- Any type of stitch will work, as long as it keeps the model from falling apart.
- Used on the back or inside of the model.
- Visible
- Used to hold down details.
- Use a contrasting color thread and decorative (appliqué) stitches. They enhance the entire model. If you can’t hide them take advantage of them!
- Hidden
- Stuffing
- Models with “natural” pockets work best.
- Make models 3-D.
- Mounting (Appliqué) & Quilting
- Provides a nice background.
- Makes the model less floppy.
- Stitching (decorative, holding together)
- Miscellaneous
- Suggestions
- Backcoating – if you backcoat with paper you can’t wash you model!
- Dad backcoats with layers of paper, aluminum foil, and elmer’s glue. The models come out hard and 3-D. The technique is similar to wet folding.
- Using a fabric stiffener.
- The fabric is more rigid and has more paper like qualities.
- Wouldn’t recommend anything rigid for a quilt or clothing.
- Websites –
- https://www.origami-resource-center.com/fabric-folding.html#:~:text=Fabric%20folding%20is%20like%20origami,look%20softer%20than%20traditional%20origami.
- http://make-origami.com/FabricOrigami/home.php – G.D. Scott’s site
- She has a lot of great boxes.
- Describes use of fabric stiffener in detail.
- Books
- Rebecca Wat
- Kumiko Sudo
- Mary Jo Hiney
- Laura Farson
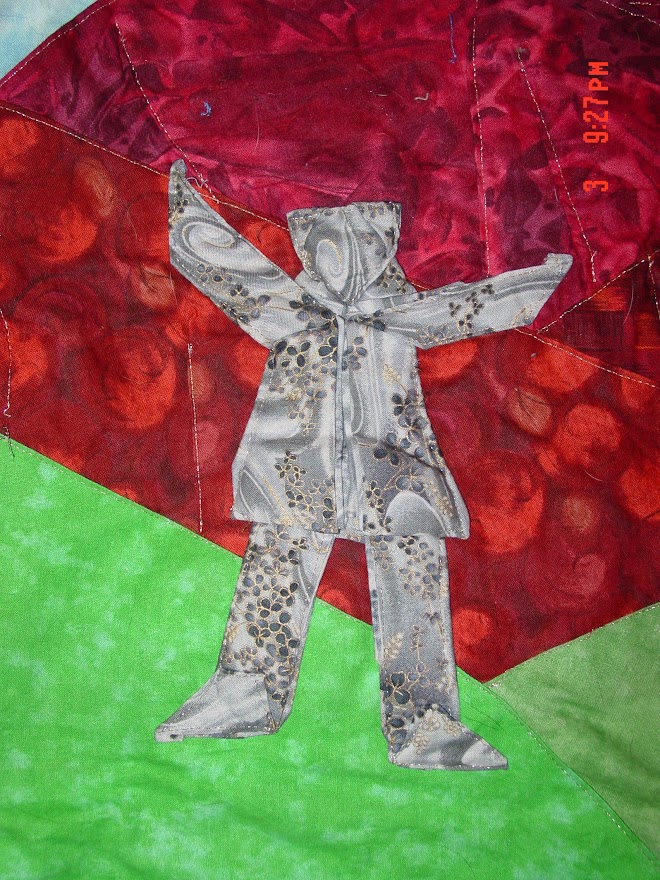
- My projects
- Origami Vest
- Origami Sampler

